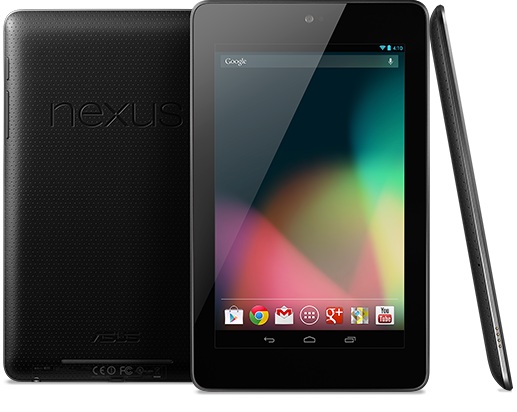
Google just dropped Android 4.1.2 for the Nexus 7 and Galaxy Nexus a few days back, bust some people still haven’t got the update. This method will help you manually update your Nexus 7 to Android 4.1.2
Download:
Requirements:
- PC
- Android 4.1.1 build JRO03D
Steps:
- Download the ADB zip and unzip it to a folder on your PC
- Enable USB debugging on your Nexus 7 by going to Developer options inside Settings
- Switch off the Nexus 7
- Press all these buttons together in the same order: Volume up + Volume down + power (Bootloader mode)
- Attach your Nexus 7 to the PC
- Navigate to Recovery mode option by pressing the volume up/down key to toggle and select the option by pressing the power button
- As soon as you see an Android and red exclamation press power button and quickly press volume up and down buttons so that now you are pressing all the three buttons together
- When a menu pops up on the screen, you can remove your fingers
- Now chose apply update from ADB option by toggling with volume up and down keys and hitting power to chose
- open command prompt on your computer by typing cmd and pressing enter on the search space
- Now place the Android 4.1.2 zip you download in the same folder where your ADB update files was extracted to
- Navigate to the ADB folder using cd in your command prompt
- Now type out the following without “”: “adb.exe sideload 03a4eaf95f73.signed-nakasi-JZO54K-from-JRO03D.03a4eaf9.zip”
- Wait for the installation process to finish
- Navigate to Reboot now on your Nexus 7
- Done