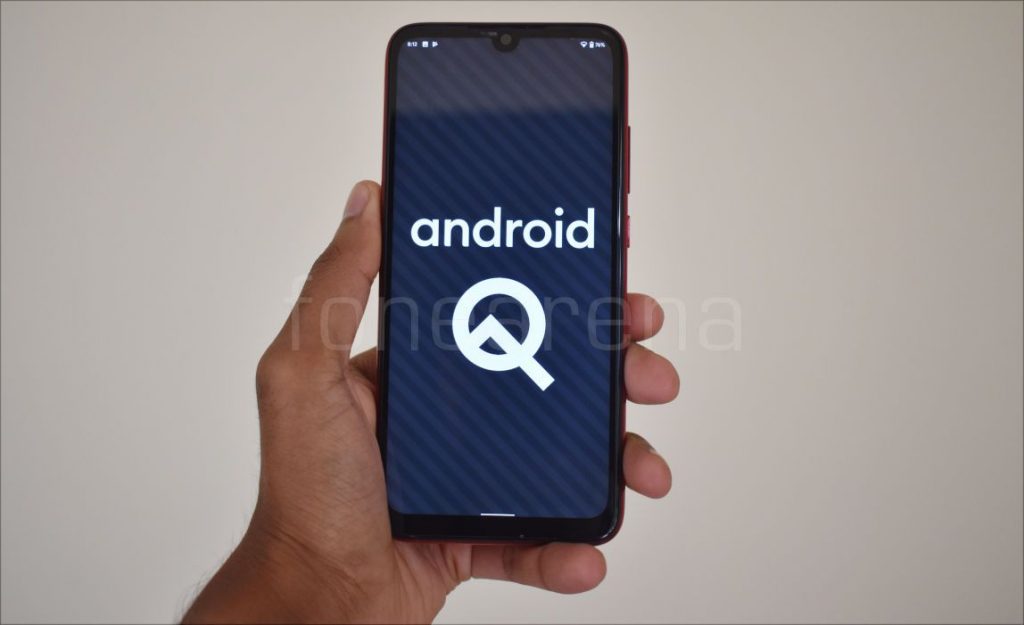
Xiaomi launched the Redmi Note 7 Pro smartphone in India back in February running MIUI 10.2 Global Stable on top of Android 9.0 (Pie) and even after 6 months of launch, it is one of the most popular smartphones in the market. Earlier this month, Android 10 update started rolling out to Pixel series of devices and Essential phone, Xiaomi also started rolling out Android 10 based MIUI 10 update for the Redmi K20 Pro.
Considering Xiaomi’s track record of providing Android updates, we can expect the company to roll out Android 10 update to Redmi Note 7 Pro in future but Xiaomi is yet to announce Android 10 update roadmap. If you own a Redmi Note 7 Pro and wish to use latest Android 1o on your Redmi Note 7 Pro, this post might be helpful as Pixel Experience project developers recently dropped first Beta build of Android 10 based custom ROM for Redmi Note 7 Pro. We installed it on our unit and here are our impressions,
Software, UI, and Apps:
As the name suggests, the Pixel Experience ROM aims towards providing a clean Pixel-like experience on the device. This ROM is based on latest Android 10 and has September security patch.
There is no bloatware pre-installed, only a few Google apps preinstalled. Out of 128 GB internal storage, 13.5 GB is occupied by the system and users get around 114 GB of free storage.
Android 10 offers various choices for navigation, users can choose between 3-button navigation, 2-button navigation (Pill based, similar to Android 9.0 Pie) and Gestures navigation. Users coming from MIUI will find the Android 10 gestures very familiar.
Android 10 features a system-wide dark mode along with theming options such as accent color, icon shape, and body font, all of these features are also available on Pixel Experience ROM.
Performance and Benchmarks:
Qualcomm Snapdragon 675 is amongst the most powerful mid-range SoCs right now in market and for those looking for benchmarks, it obtained AnTuTu score of 178895 on Pixel Experience ROM. It scored 2357 points in single-core test and 6434 points in multi-core test in Geekbench 4, in Geekbench 5 test, it managed to get a 505 points in single-core test and 1611 points in multi-core test.
We will be testing the ROM over the next few days and update the post mentioning all the features in details along with pros and cons, you can also checkout Redmi Note 7 Pro telegram channel for more custom ROM and stuff.
Requirements
- Xiaomi Redmi Note 7 Pro updated to latest MIUI Global ROM with an unlocked bootloader – To Unlock the bootloader of your device, apply here.
- Pixel Experience ROM – Download the latest ROM ZIP file from here.
- TWRP for Redmi Note 7 Pro – You can download the recovery file from here.
- ADB software (For Windows) / Android zip file (For Mac)
If you are on a Mac you need to
- Extract the Android zip and place the folder on your Desktop.
- Open Terminal
- Type cd Desktop/Android
- Enter ./ADB-Install-Mac.sh
Follow the procedure mentioned below to flash the ROM on the device,
- Switch off the phone and boot it into Fastboot mode by long pressing Power and Volume down buttons simultaneously.
- Connect your phone to PC by a USB cable, open command prompt on your PC and navigate to the folder where you have downloaded TWRP Recovery ZIP.
- Type ‘fastboot devices’ in command prompt and check if the device is detected by the system.
- If the system detects the phone, type ‘fastboot erase userdata’ and hit enter, now type ‘fastboot flash recovery twrp_filename.zip’ and hit enter, the process will be completed in seconds.
- Now long press the Volume up and Power Button to boot the phone in recovery mode.
- It will ask to allow modifications, Slide towards the right to allow Modifications.
- Select ‘Wipe’, choose ‘Format Data’ and type ‘Yes’.
- Now, go back to ‘Advanced Wipe’, select ‘Dalvik / ART Cache’, ‘System’. ‘Data’, ‘Cache’ and then swipe towards the right to Wipe.
- Go back and click on ‘Install’, navigate to the location where you have stored ROM file, it’s better to keep ROM file on SD Card or USB OTG drives. Select the ROM file and swipe towards the right to flash.
- After successful installation, the system might show ‘No OS installed’ warning, ignore the warning and click on ‘Reboot’, within 10 minutes device will boot with Pixel Experience ROM.
Warning Disclaimer: Bootloader unlocking and flashing ROM may void the warranty of your devices, and FoneArena is not responsible for any damage or loss caused to your device. The credit for developing the ROM and Recovery go to their respective developers.