We hope that you have seen our unboxing of the latest smartphone from Lenovo, the Vibe K4 Note. As with our two previous teardowns – the QiKU Q Terra and Xiaomi Redmi Note 3, we decided to do a teardown of the Vibe K4 Note as well for your viewing pleasure.
httpv://www.youtube.com/watch?v=AbrVRCTr3XM
The specifications of the Lenovo Vibe K4 Note are:
- 5.5-inch (1920 x 1080 pixels) IPS 178 degree wide-view display, with 450 Nits Brightness, 1000:1 contrast, Corning Gorilla Glass 3 protection
- 1.3 GHz Octa-core MediaTek MT6753 processor with up to 450MHz Mali T720-MP3 GPU
- 3GB DDR3 RAM, 16GB internal storage, expandable memory up to 128GB with microSD
- Android 5.1 (Lollipop) with Vibe UI
- Dual (micro) SIM
- 13MP rear camera with dual-tone LED flash, PDAF, f/2.2 aperture, ISOCELL sensor
- 5MP front-facing camera
- Dimensions: 153.6 x 76.5 x 9.15~3.8mm; Weight: 158g
- Dual front-facing speakers, Dolby ATMOS, 3 microphones, Wolfson WM8281 audio codec
- 3.5mm audio jack, FM Radio
- 4G LTE / 3G HSPA+, WiFi 802.11 a/b/g/n/ac, Bluetooth 4.0, GPS, NFC, USB OTG
- 3300mAh (Rated) built-in battery
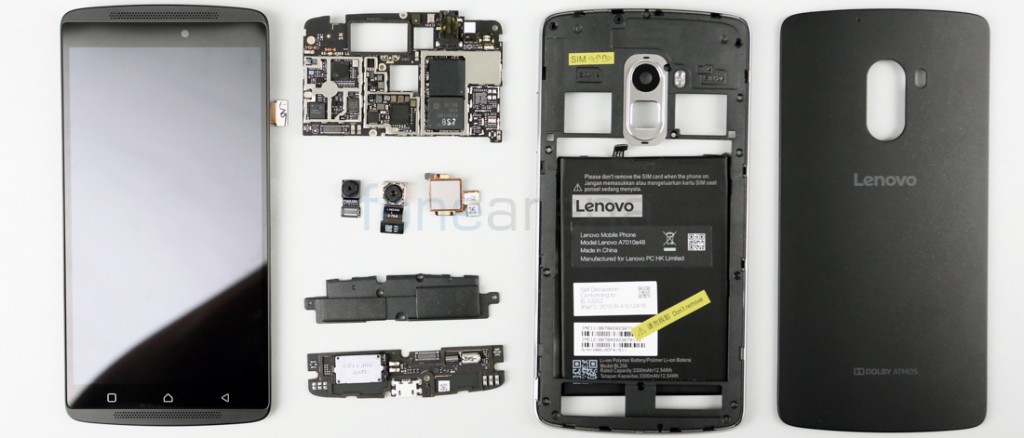
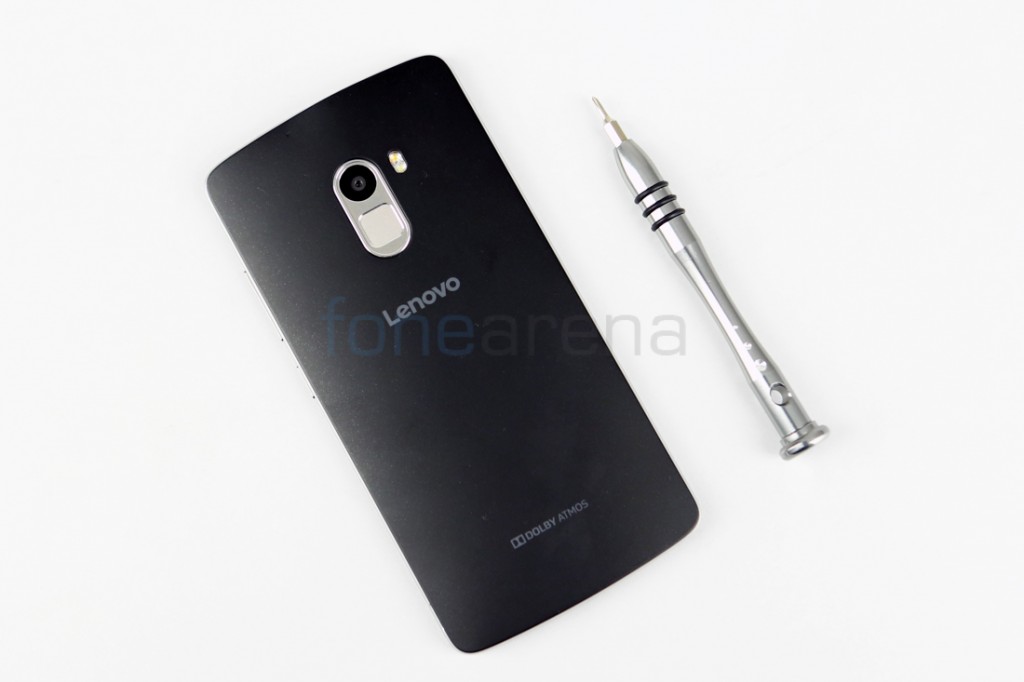
As per usual procedure, we start off things at the back. However, unlike the QiKU Q Terra and Xiaomi Redmi Note 3, the Vibe K4 Note has a removable back panel which makes things easier for us.
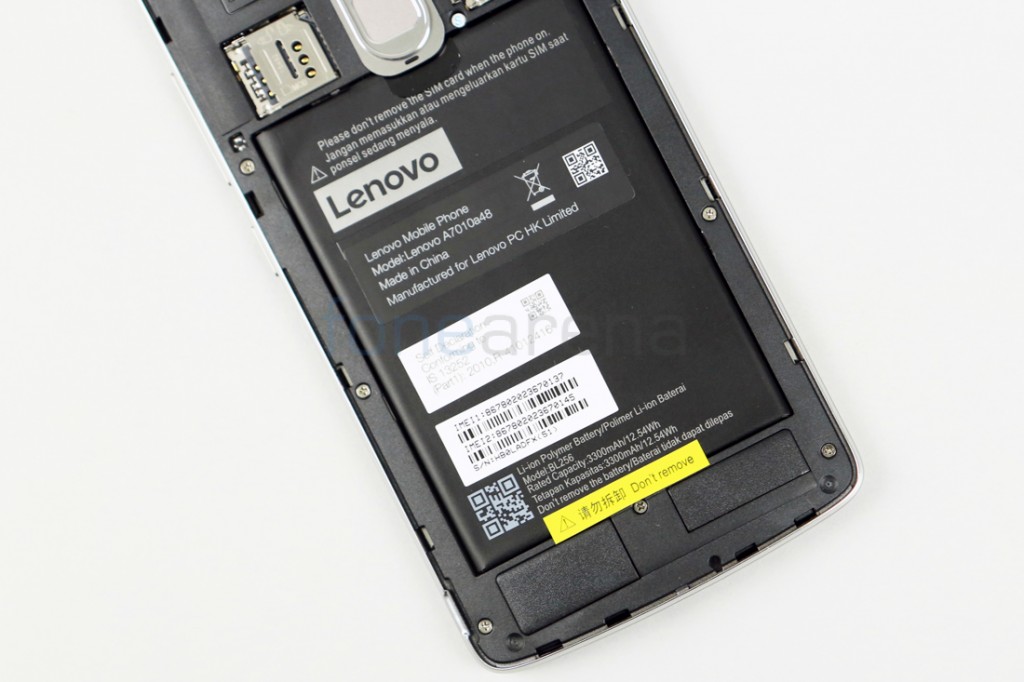
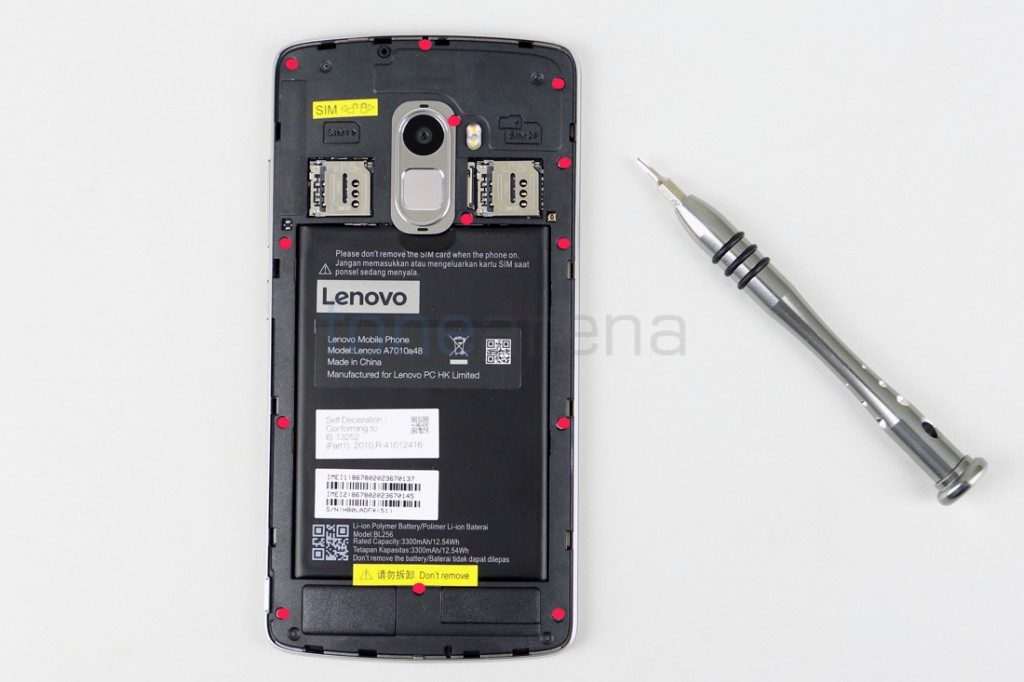
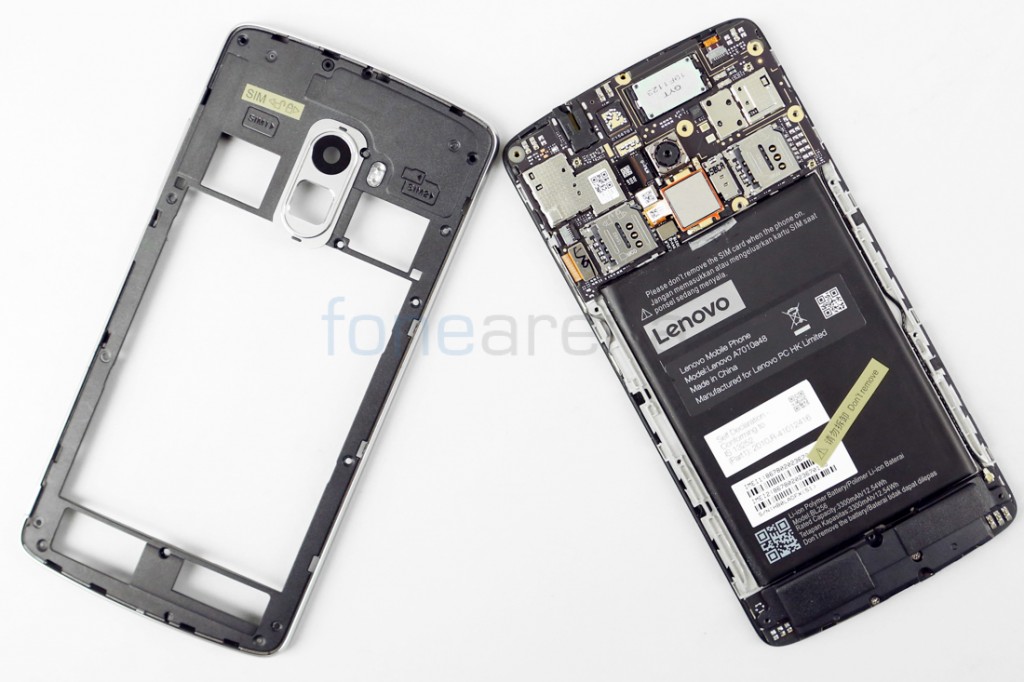
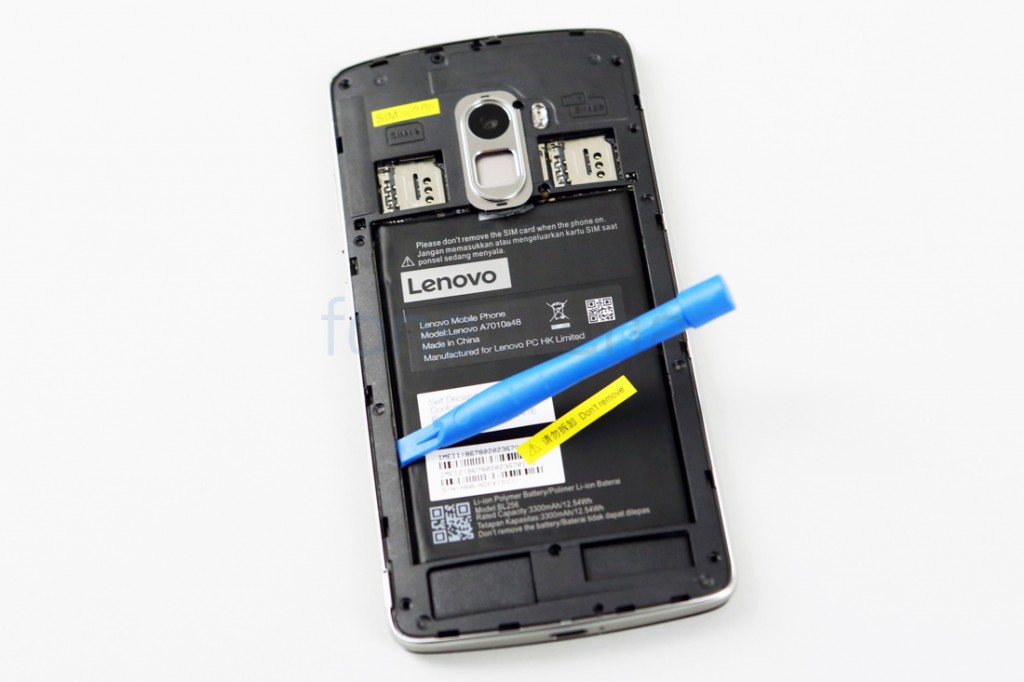
Removing the back panel reveals the dual micro-SIM slots, the microSD card slot as well as the non-removable battery. It also gives us access to the screws which need to be removed in order to access the internals including the logic board.
There is a sticker that says “do not remove” which we had to ignore to bring you this teardown. For those of you at home, please do not try this yourself as you will lose your warranty if you do so.
There is a total of 13 screws that need to be removed in order to loosen up the rear frame. We then took off the frame which houses the fingerprint sensor, rear camera as well as the volume rocker and power button.
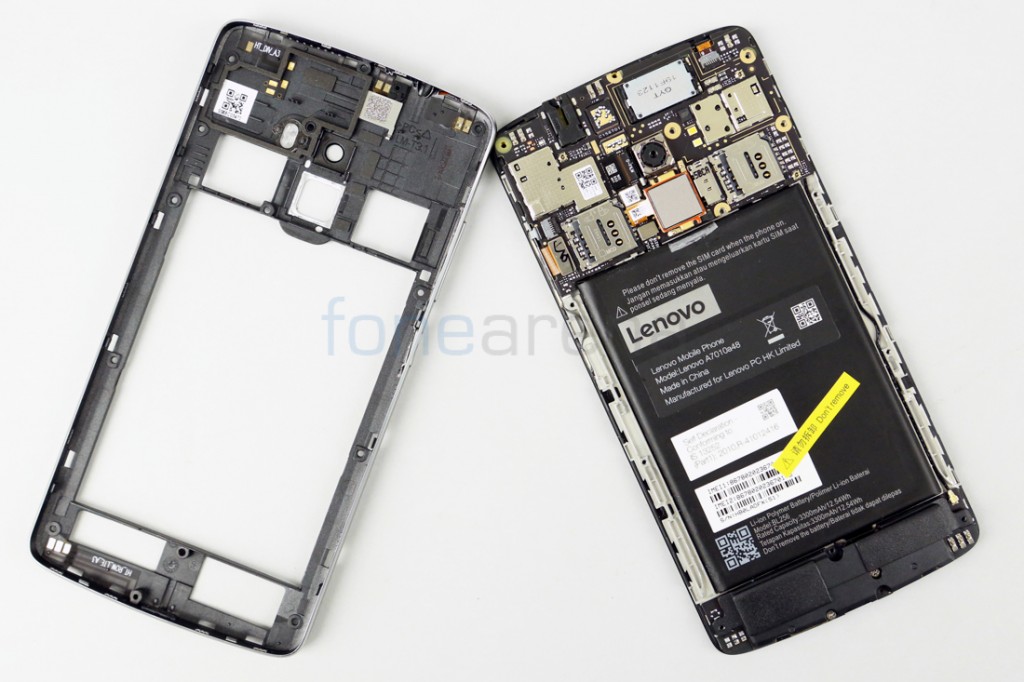
There are two more screws at the bottom that hold the plastic frame in place. Removing the frame will give you access to the speaker, vibrator and the microUSB assembly. We then removed the antenna cable and ribbon cable that connects the microUSB port to the logic board. There is some glue that holds the microUSB port onto the logic board.
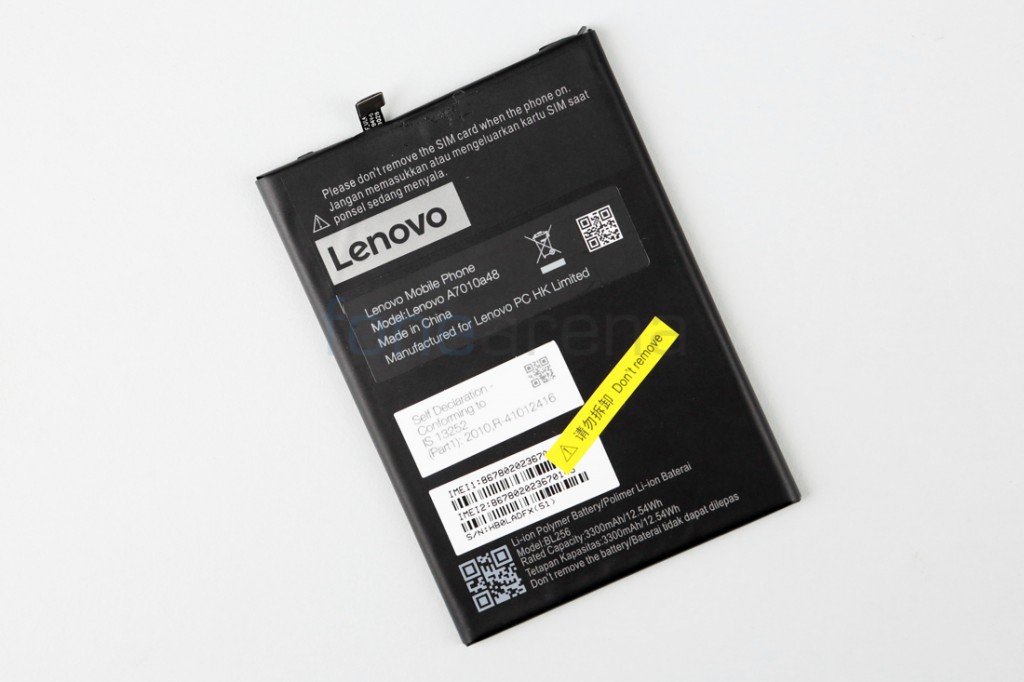
We then removed the battery ribbon cable in order to remove the battery. The battery too is well glued in place so we had to use a heater in order to remove it. The battery is rated at a capacity of 3,300 mAH.
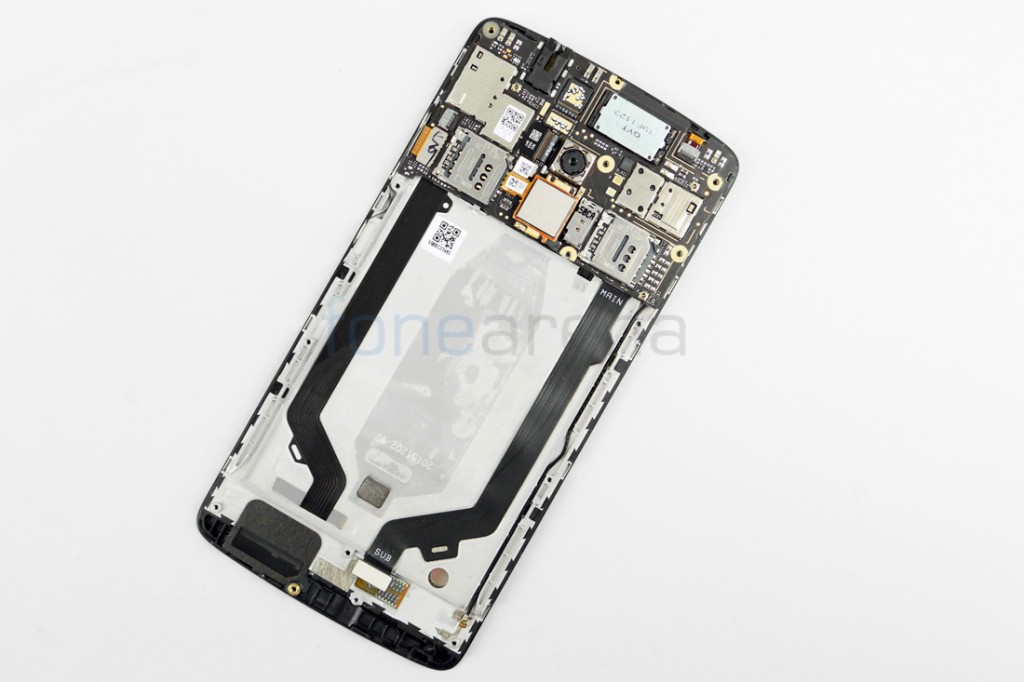
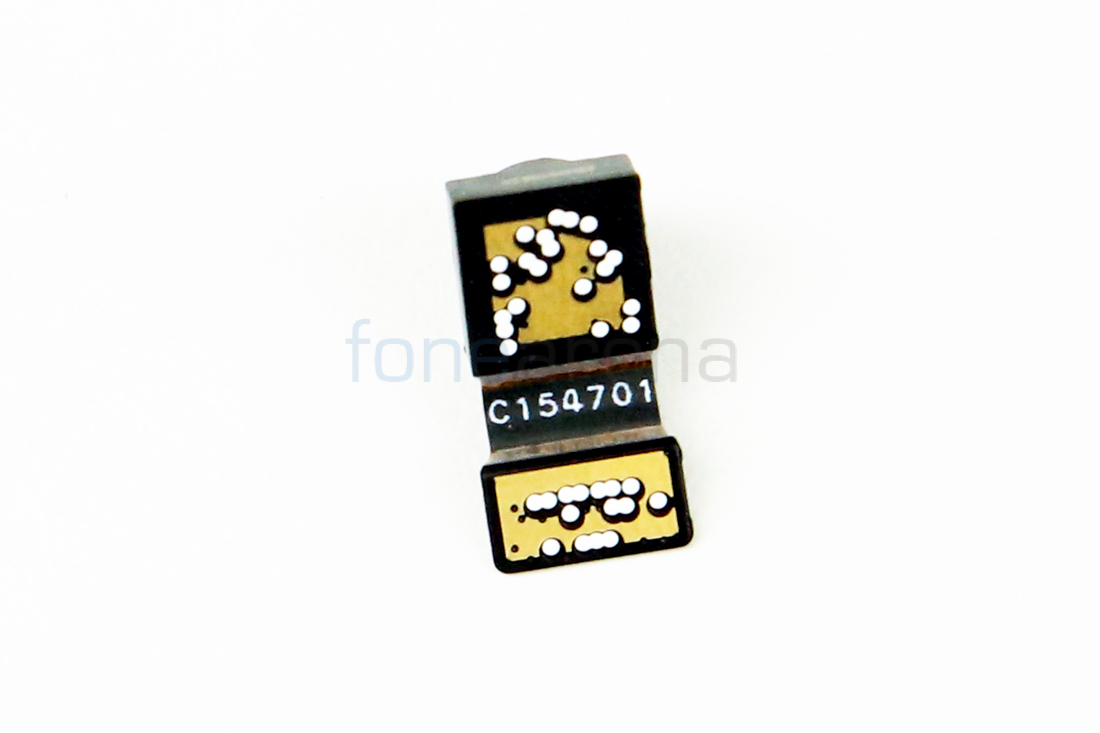
There are some more ribbon cables on the logic board which we removed to separate the board. The fingerprint sensor is held in place using tape and we removed the ribbon cable to take it out.
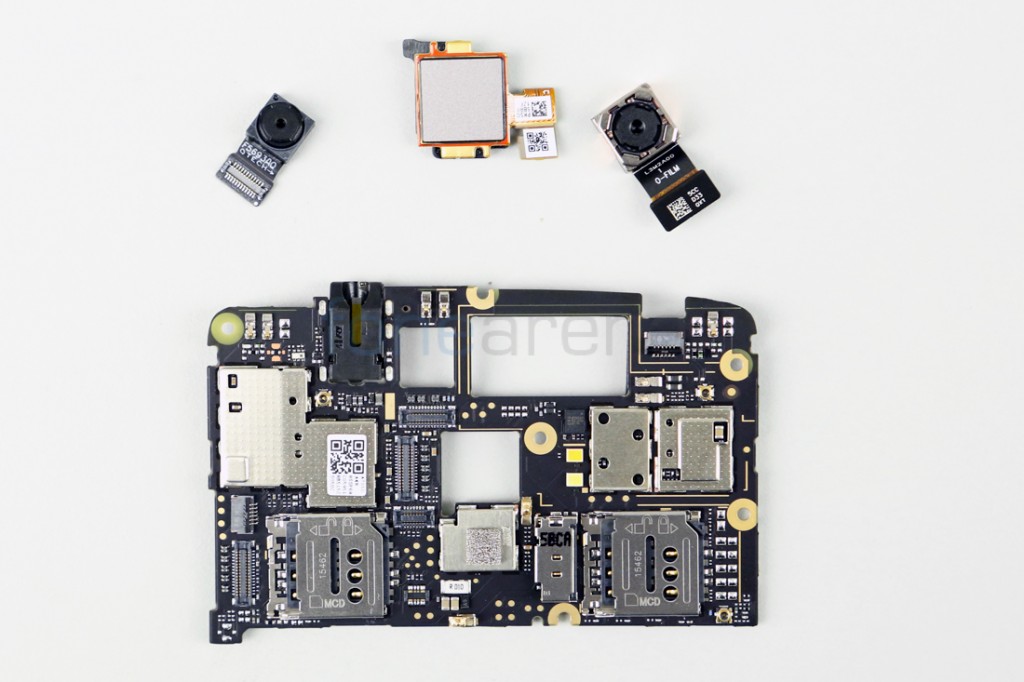
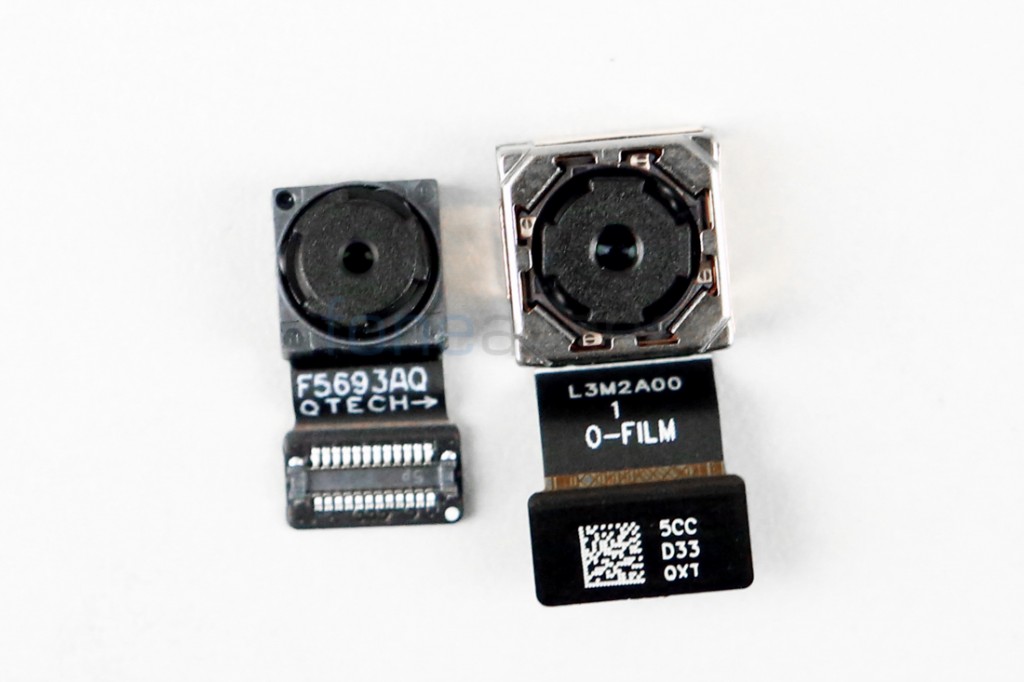
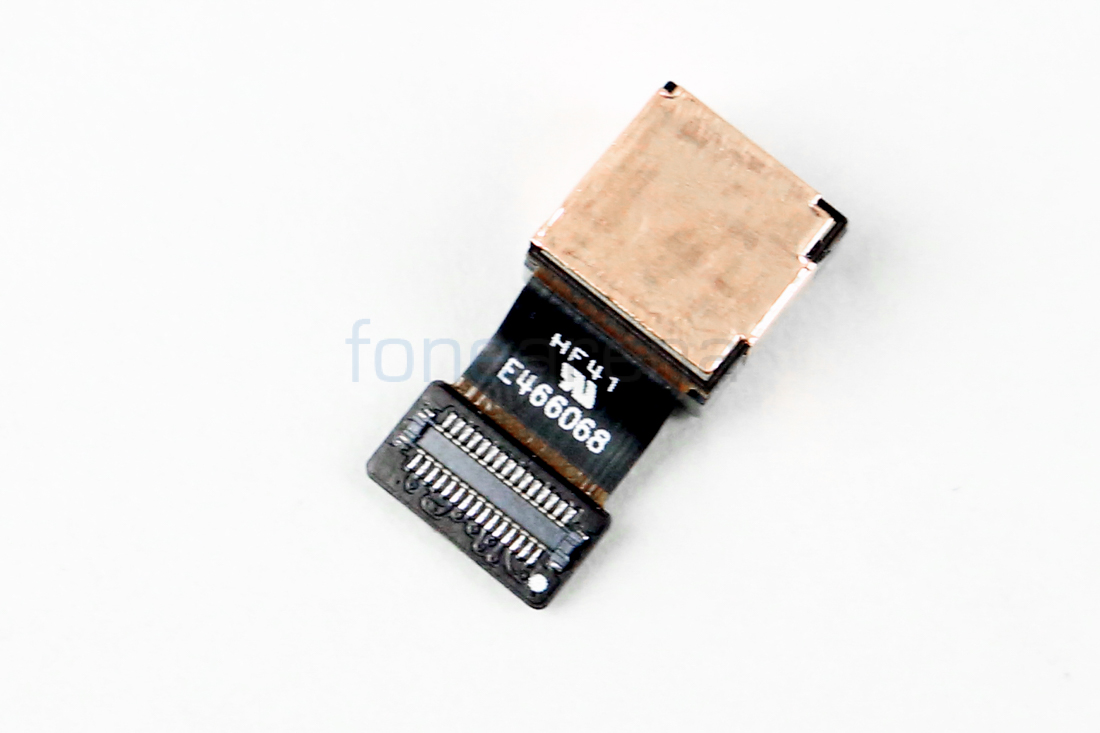
We also removed the ribbon cables to take out the rear and front camera modules. The rear camera is a 13 Megapixel ISOCELL sensor with PDAF and maximum aperture of f2.2. The front camera is a 5 Megapixel Omnivision unit.

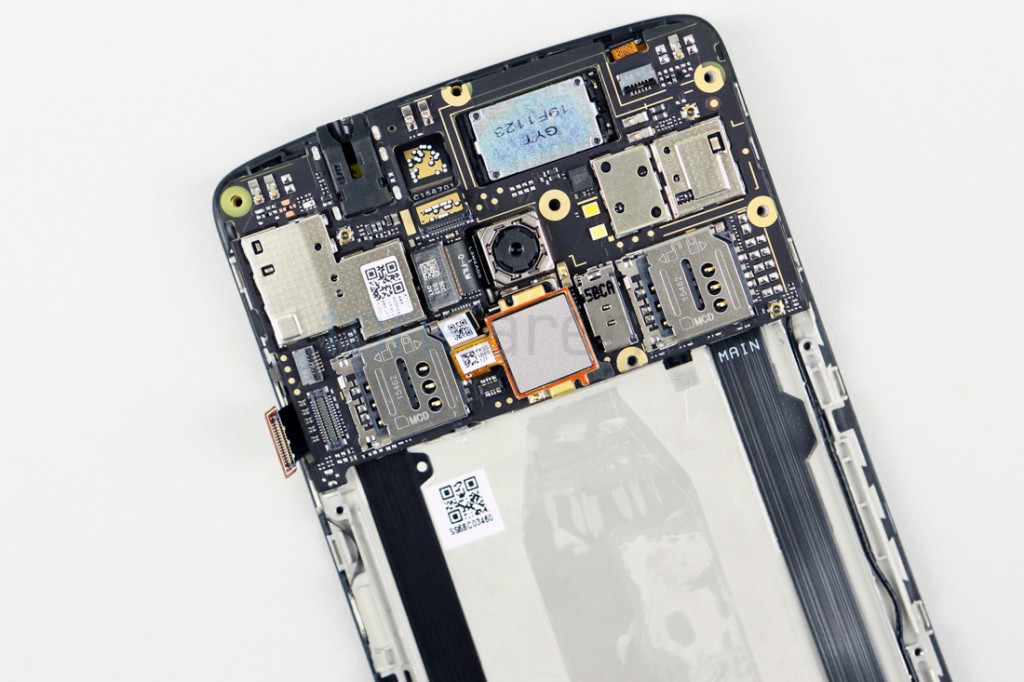
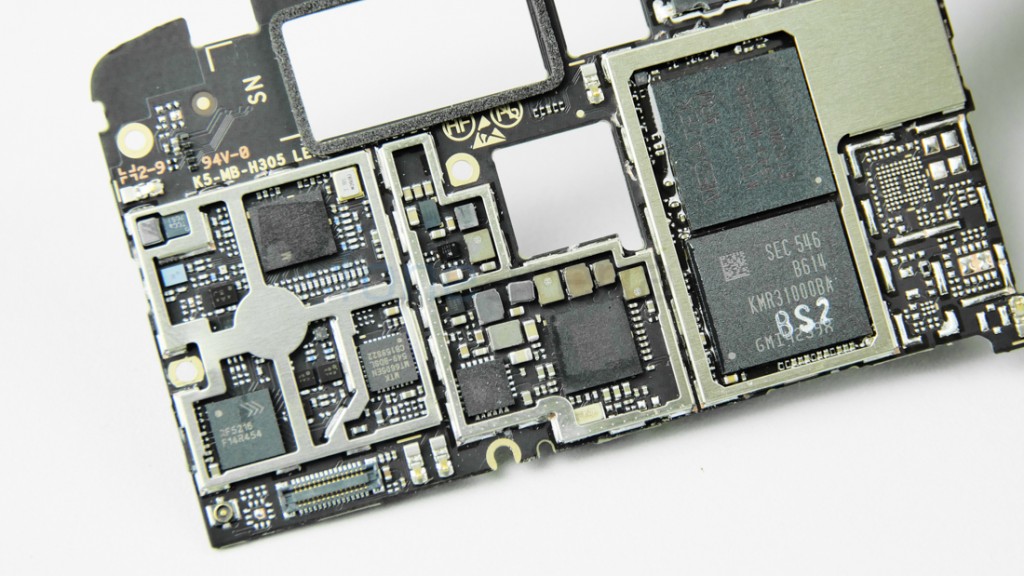
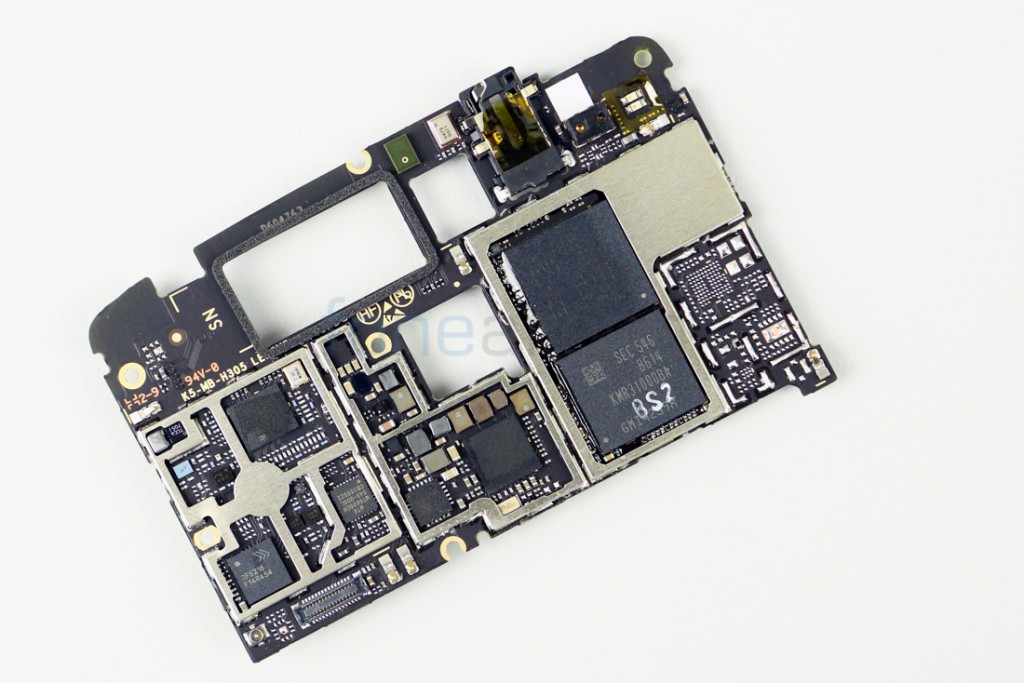
Finally, we removed the metal shielding to uncover the MediaTek MT6753 SoC with Mali T720-MP3 GPU. There is also an RF5216 IC that provides support for 4G LTE and an MT6605EN chipset.
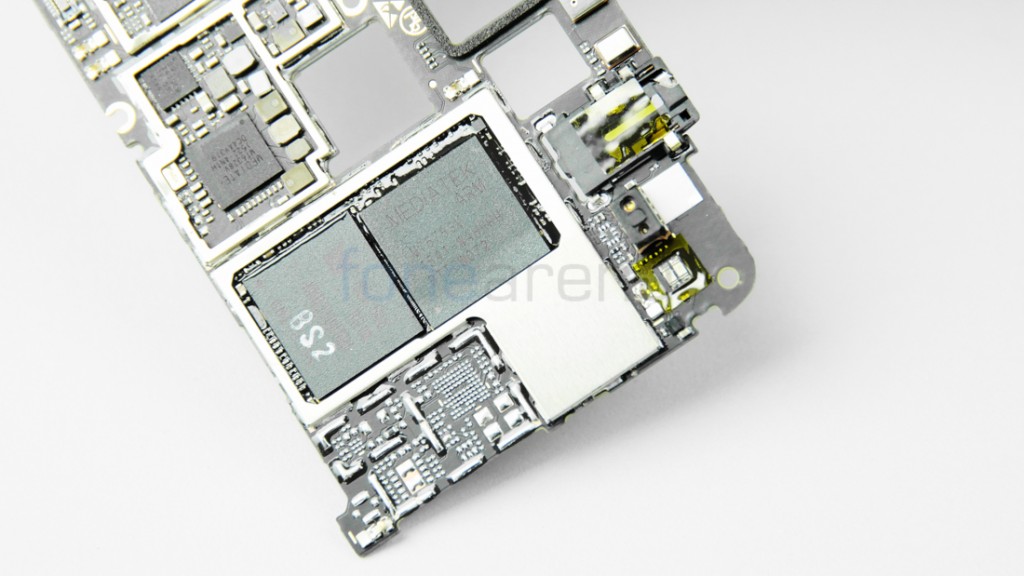
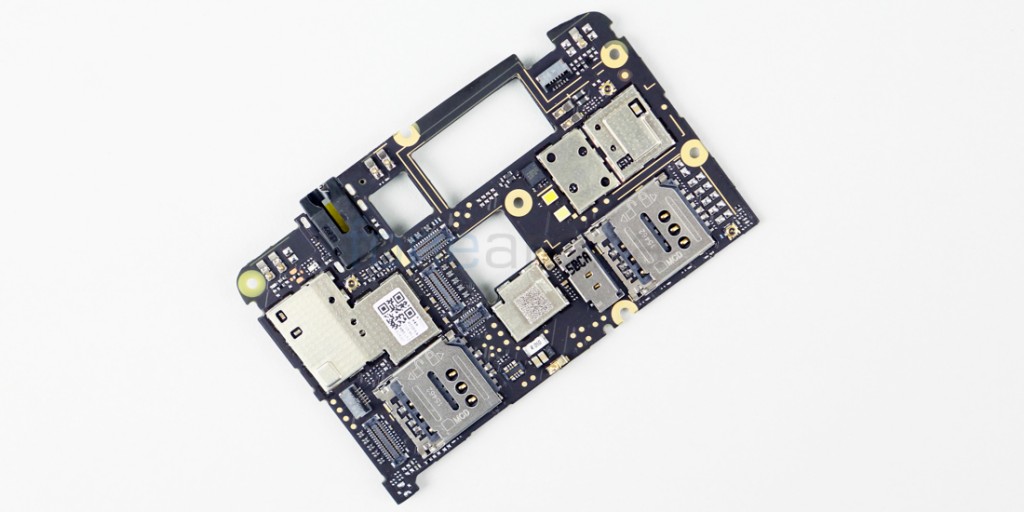
The 3.5mm audio jack and proximity sensors are soldered to the logic board at the top. The back side also houses the storage unit, the dual microSIM slots and the microSD card slot.
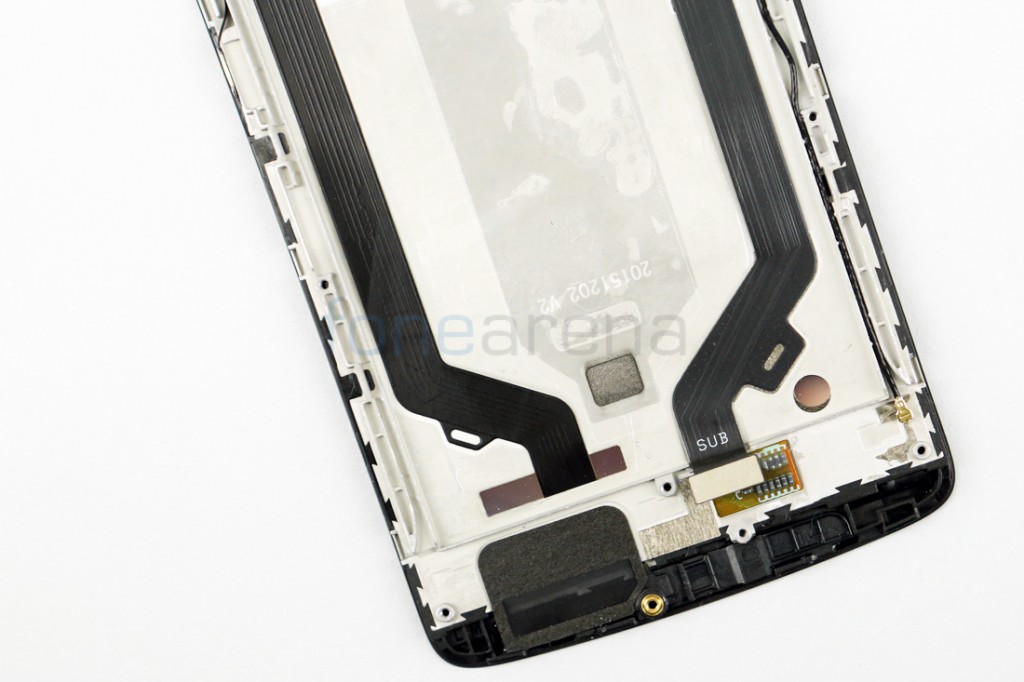
Finally, we have the display unit itself which houses one of the dual stereo speakers and ribbon cables that are required to power the display and touch digitiser.