The QiKU Q Terra is quite a unique phone when it comes to the kind of features and specifications it packs. We decided to do our first teardown on the device to see what really makes it tick and have a first hand experience at the internals. We decided to share the details of the part with you for your viewing pleasure.
httpv://www.youtube.com/watch?v=HRx5Cee8dxk
The specifications of the Q Terra are:
- 6-inch (1920 x 1080 pixels) Full HD IPS display with Corning Gorilla Glass 3 Protection, 1400: 1 contrast ratio
- Hexa-Core Qualcomm Snapdragon 808 processor with Adreno 418 GPU
- 3GB RAM, 16GB of internal memory, expandable memory up to 128GB
- Android 5.1.1 (Lollipop) with 360 OS
- 13MP rear camera with Sony IMX278 sensor, f/1.8 aperture, dual-tone LED flash, 4K video recording
- Secondary 13MP rear camera with Sony IMX214 sensor
- 8MP front-facing camera, f/2.4 aperture, 1.4μm Pixel Size, 1080p video recording
- Hybrid Dual SIM (micro + nano / micro SD)
- Fingerprint sensor
- Dimensions: 157.6×79.8×8.6mm; Weight: 185g
- 4G LTE, Wi-Fi 802.11 ac (dual band), Bluetooth 4.1, GPS / GLONASS, USB OTG
- 3600mAh (minimum) / 3700mAh(typical)battery with fast charging
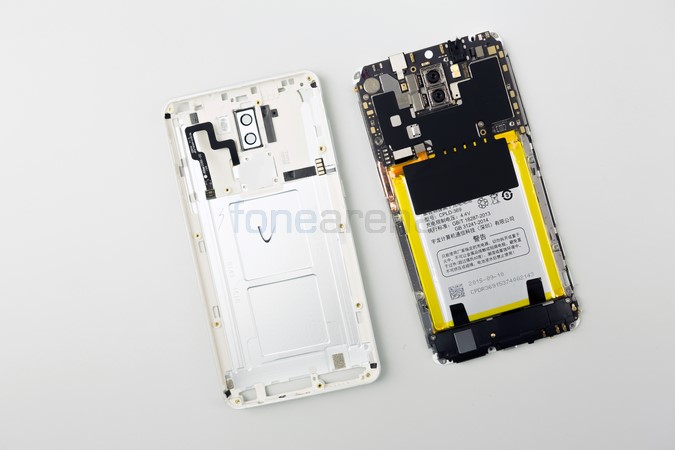
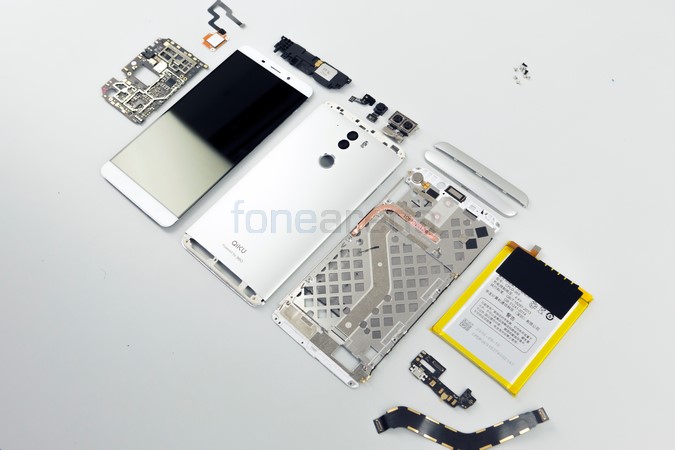
For the teardown, we started with the back first where we melted the glue at the top and bottom using a hair dryer. Then we went ahead and removed the plastic portions at the back and proceeded to remove the display up front.
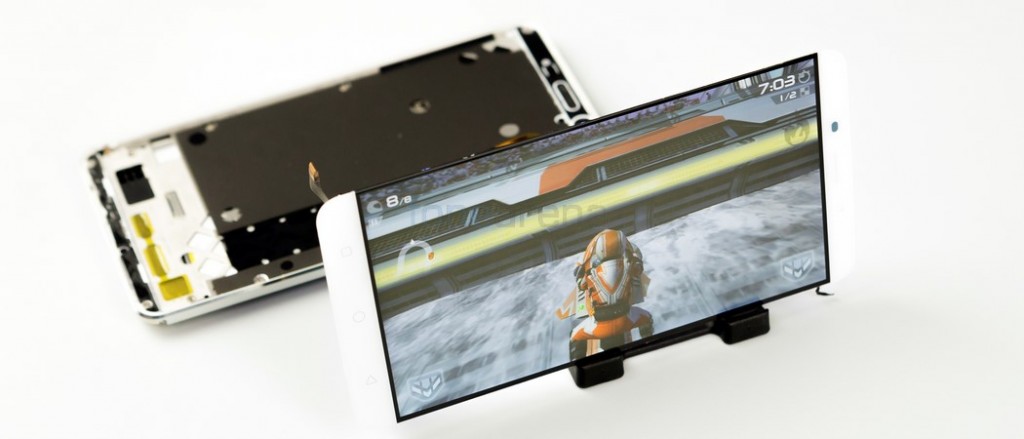
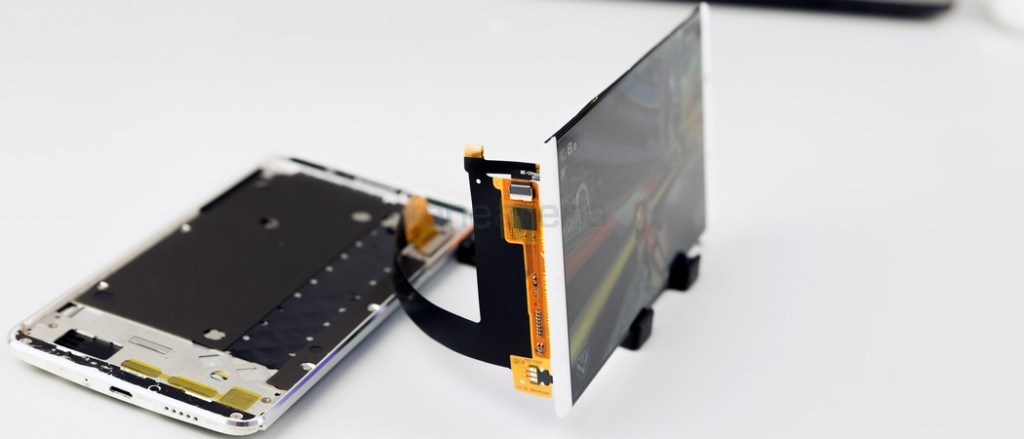
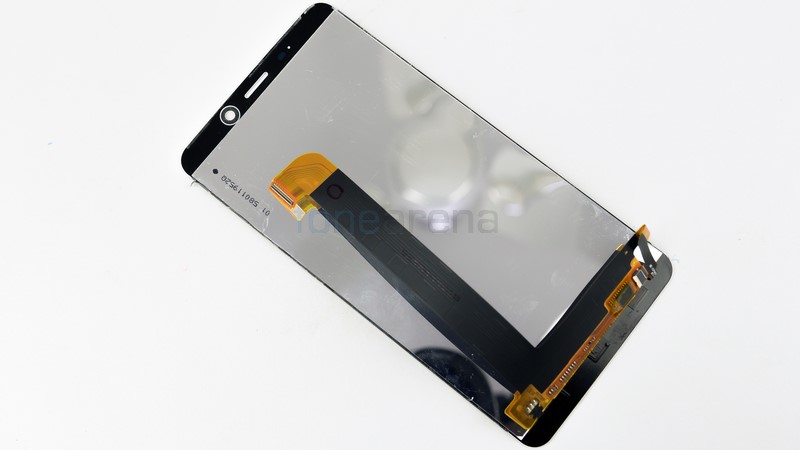
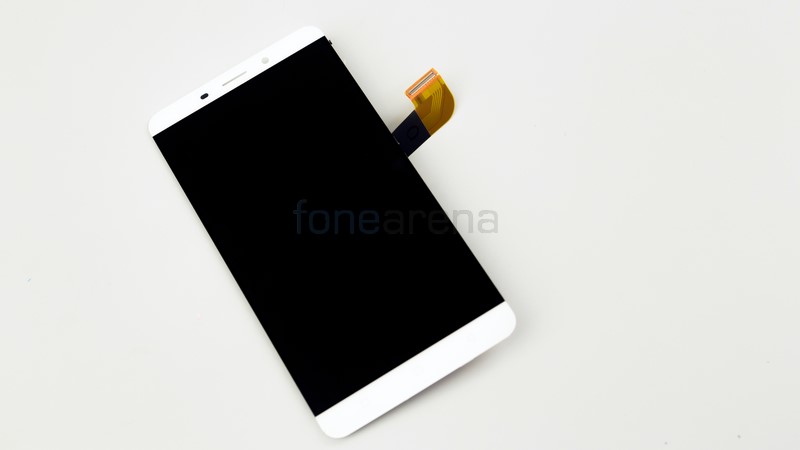

We applied the same technique to melt the glue and then removed the display from the body using a suction cup. The display does look pretty cool when you play with it outside of the body doesn’t it? We then removed the screws and the flex ribbon connecting the display.
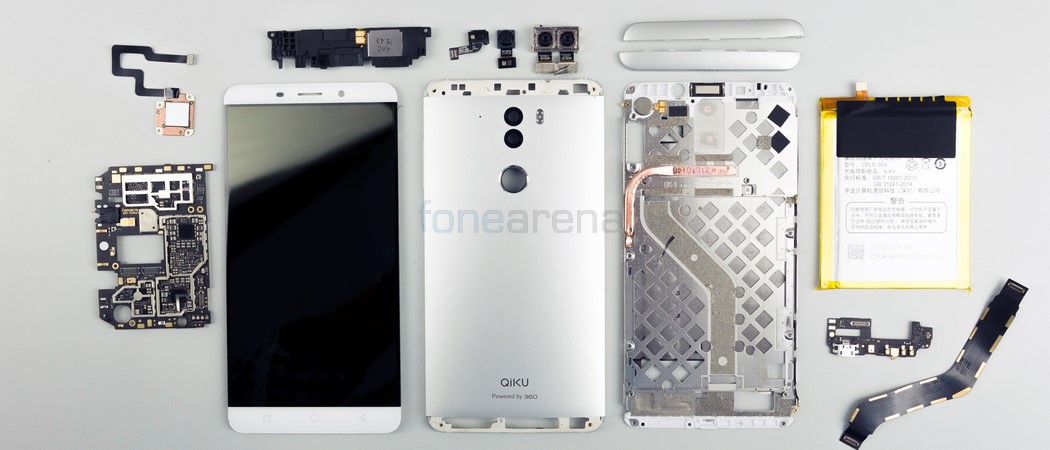
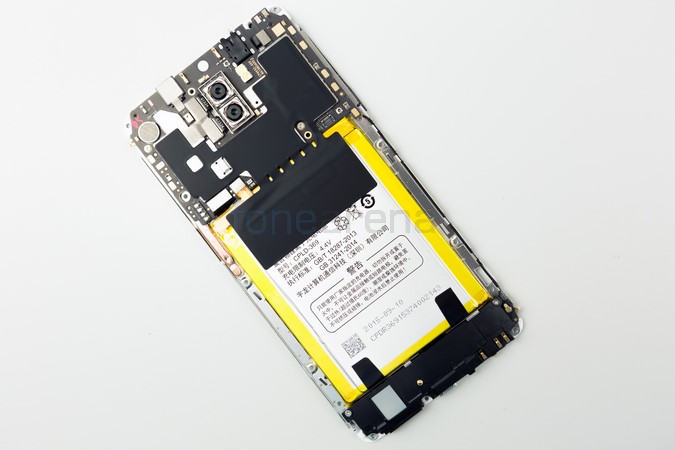
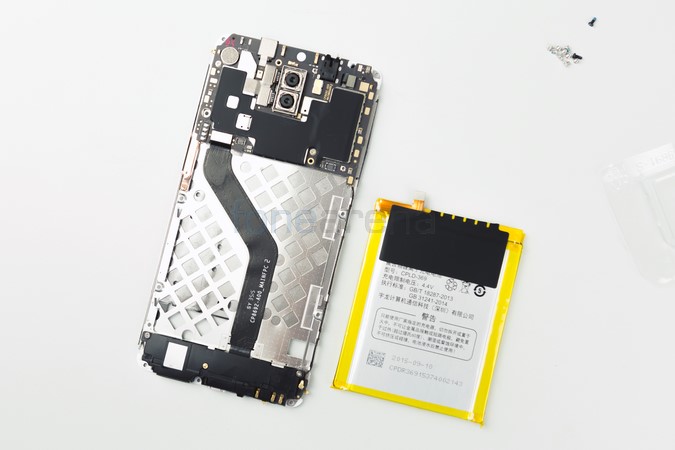
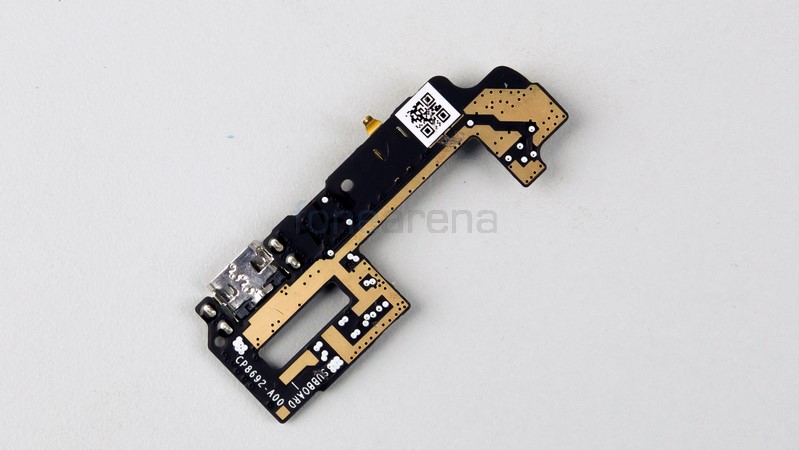
We then removed all the 12 screws in order to access the logic board. In the process, we also removed the fingerprint sensor and the battery to prevent any short-circuit. We also took aside the speakers, USB port, and the camera modules at the front and back. Here are the components in detailed closeup shots.
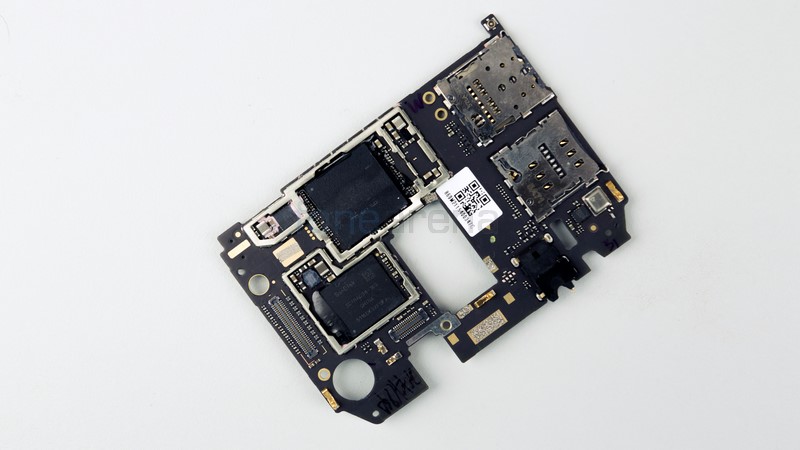

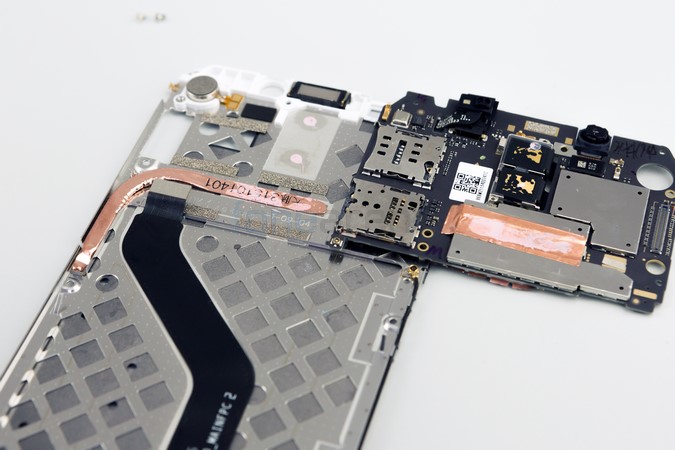
The logic board with the two SIM slots and the 16GB on board SanDisk storage. You also have the Snapdragon 808 SoC with Qualcomm PM8994 power management component.
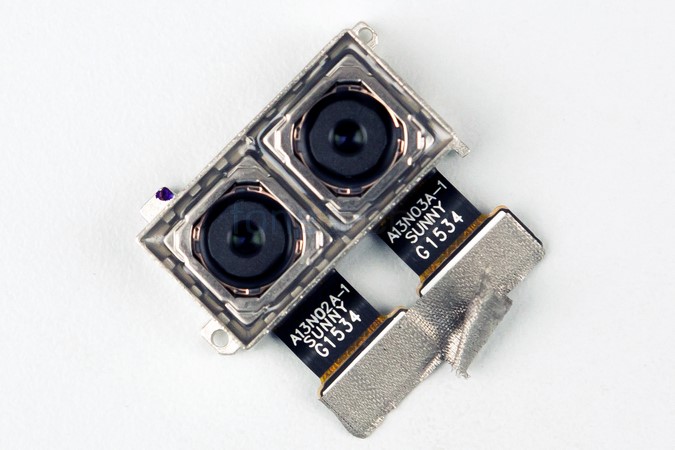
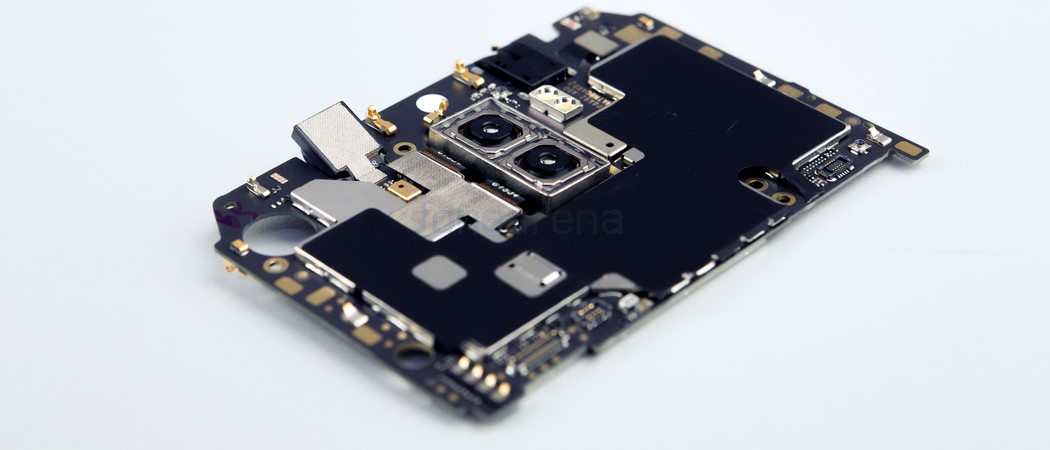
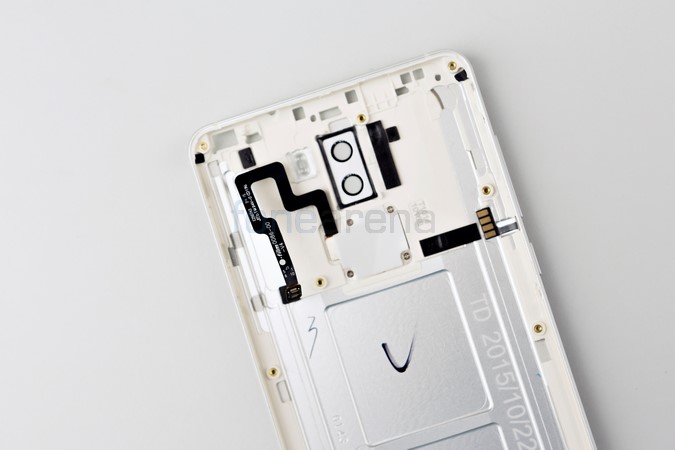
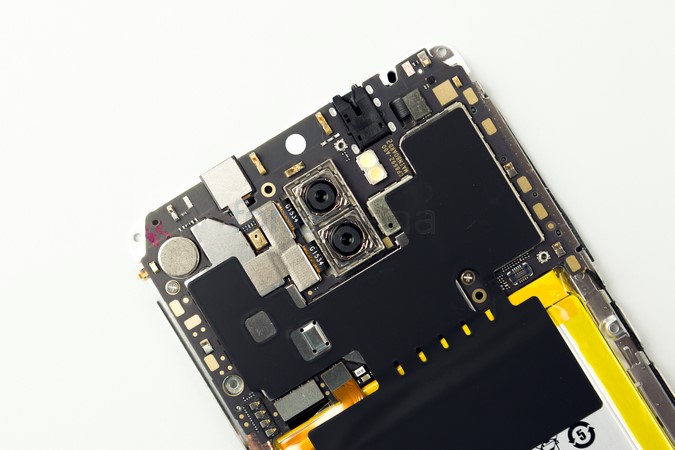
The DUOSCOPIC cameras, a 13 Megapixel Sony IMX278 sensor that shoots in colour and a 13 Megapixel Sony IMX214 sensor that shoots in black and white.
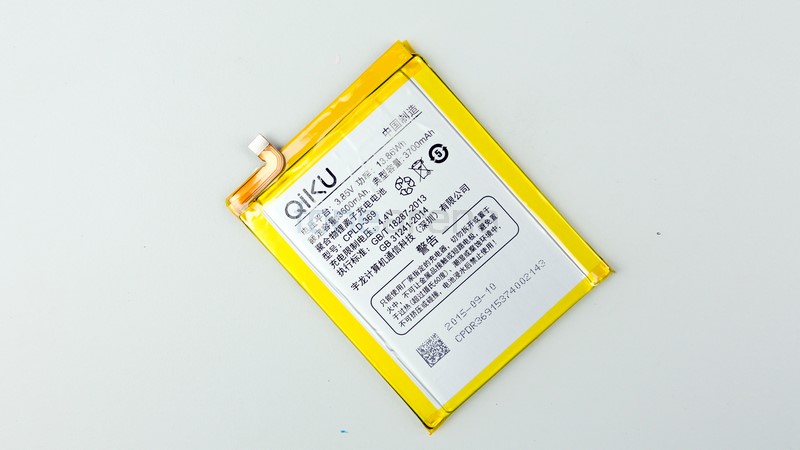
The built-in 3700 mAH battery that powers the Q Terra.
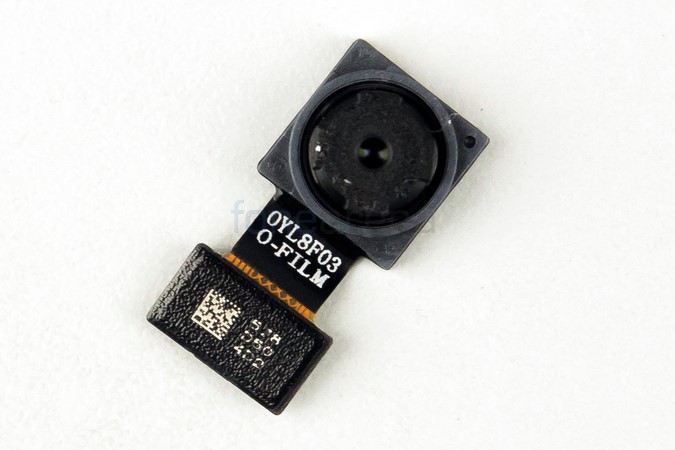
The secondary front facing 8 Megapixel camera.
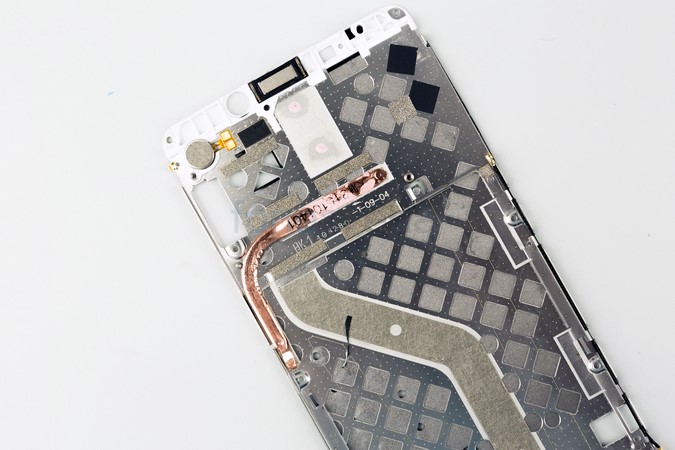
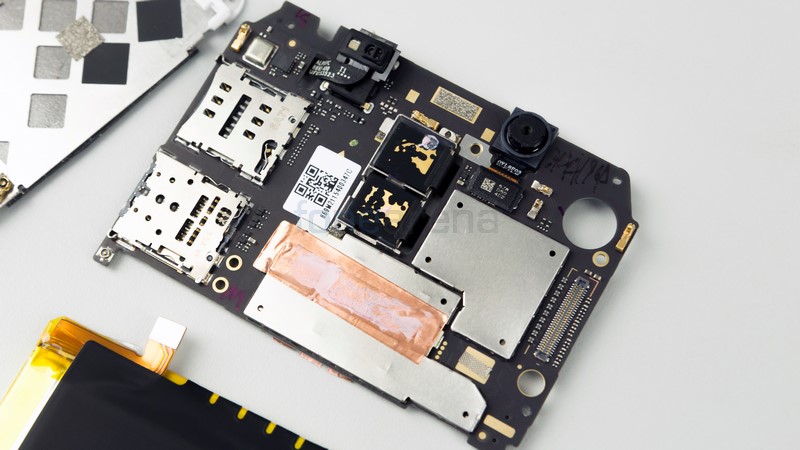
The copper coloured metal pipe is a heat sink to keep the temperature of the phone in check. QiKU calls it aerospace heat dissipation system with liquid cooling technology.
We hope you enjoyed the teardown of the Q Terra. If you would like us to do more teardowns, do let us know in the comments section below. Also do tell us, which phone you would like to see next.
Siraj contributed to this post